
Prairie Dunes Country Club
"A little bit of Scotland in the Land of Oz."
Location: Hutchinson, Kansas
Architect(s): Perry & Press Maxwell
Year(s) Built: 1937 & 1957
In 2012 & 2013, I had the privilege of serving as an assistant PGA golf professional at Prairie Dunes, a top 100 golf course in the world. In 2021, Golf Digest ranked it the #25 course in the United States and Golf Magazine had it as the #31 course in the world.
Recently, I had the chance to return and play the course I once called home.
It's a course that ought to be on every golfers bucket list, but due to the location, lack to PGA Tour events, and the fact that it's private, not many will find their way to this treasure. So, I decided to create a hole-by-hole description post on it to allow you to experience it, at least in part, vicariously through "hole the ball."
Let's dive in...
After viewing the property that would become Prairie Dunes Country Club, Perry Maxwell famously said, “There are 118 holes here, and all I have to do is eliminate 100”. He finished the original nine (*holes 1, 2, 6, 7, 8, 9, 10, 17, and 18) in 1937. By the time the second nine could be finished, it fell to his son, Press.
Even though two different architects designed the course, the two nines flow together incredibly well. For the average golfer, it'd be hard to tell a difference in style without knowing the history first. In fact, there are rumors around the club that Press may have used his father's plans to construct his half, but we'll probably never know for sure.
As you read through the hole descriptions and view the photos, see if you can spot a difference in style between the duo and leave your thoughts in the comments below.
Hole 1*: Carey Lane ⛳️
The opening hole is a dogleg left par 4. There's a bunker straight through the fairway, which is typically a pretty good aiming point, though longer hitters can reach it. Anything right of the bunker will leave a longer approach shot, while left will leave a much easier shot if the left dunes are avoided.

tee shot on 1.
The approach shot is fairly straight forward, but does feature a low grassy area below the trees on the right. The challenge is getting the ball close to the hole. A smart play is just to aim for the center of the green and hope to two putt.

approach on 1.
This is the first of many tricky greens on the golf course. The front left drops off a bit and the front tends to funnel right. There's also a mini-tier in the back right and back left, which can set up interesting pin positions that are hard to get close.

green on 1.
Hole 2*: Willow ⛳️
Number 2 is the first of four incredible par 3s on the course. It only requires a mid-iron off the tee, but four bunkers surround the green and grassy dunes on the right mean there's not much room to miss.

tee shot on 2.
The green slopes hard from back-to-front, so any ball that misses long will face a chip shot that's nearly impossible to get close to a middle or back pin.

green on 2.
Hole 3: Wild Plum ⛳️
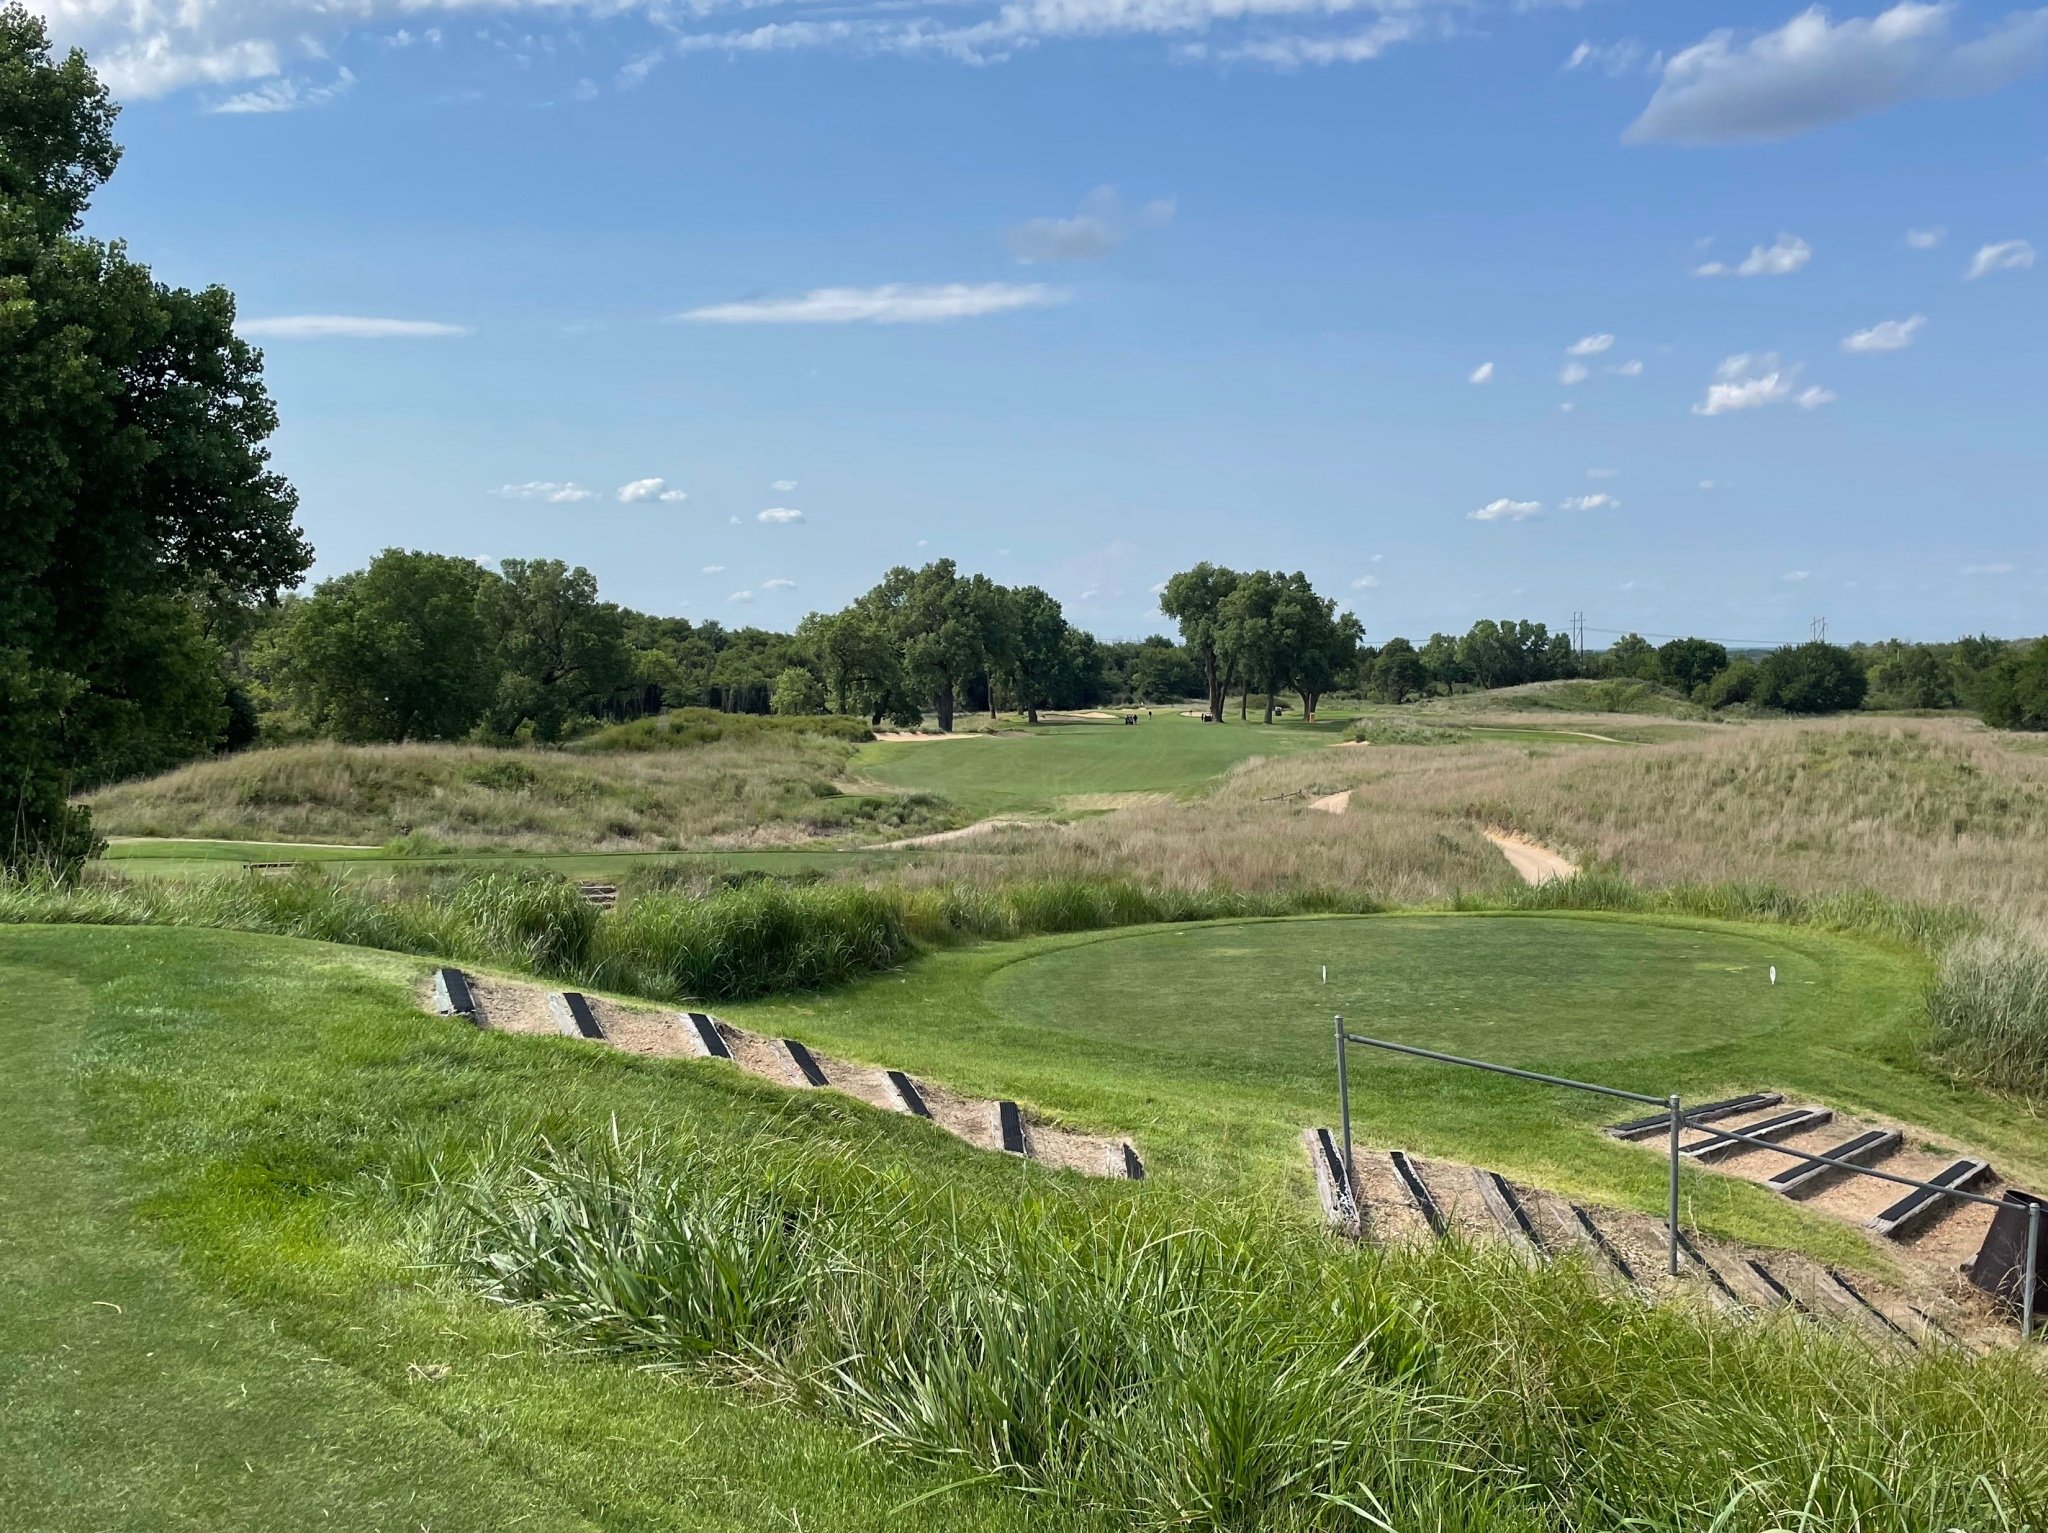
The third might be the most intimidating tee shot on the golf course. The back tees require a player to hike a couple flights of stairs to an elevated tee box that looks down towards a sea of tall grass. In the distance, a sliver of fairway runs diagonally with bunkers on the right side. The hole isn't long, so it often doesn't demand driver. If it helps at all, there's more room to land the ball than it appears from the tips.

tee on 3.
The second shot isn't long or difficult, but that's only for balls that find the fairway. A couple front bunkers makes the edges of the green hard to spot, so picking the correct line is often a challenge.

approach on 3.
The first Press-made green gives players a bit of a reprieve, as the rolls are a bit more subtle in nature here. That may not be saying much, though, even the flatter Prairie Dunes greens are extreme on most other courses.

green on 3.
Hole 4: Hill Top ⛳️
The fourth hole is another challenging par 3 that's flanked in front and back by grassy dunes and bunkers. This one requires a bit more club than the last due to it's yardage and uphill slope, so balls often find the hazards.

tee on 4.
The green runs diagonally and features a slight tier as it slopes hard from back-to-front. It's not uncommon for a ball that lands on the front edge to roll all the way back down the hill, leaving a decent sized pitch back up the hill.

green on 4.
Hole 5: Quail Ridge ⛳️
From the tee, the fifth hole looks fairly straightforward. There's gunsch (tall grass) both left and right, but plenty of room in the landing area. It typically plays directly into a firm wind, so this long par 4 often plays a bit longer than the number on the scorecard.

tee on 5.
In the fairway, the putting surface is barely visible since it plays uphill. Bunkers surround the green on almost all sides, catching wayward shots.
Another Press-style green with slightly less movement than others at Prairie Dunes. It still features a couple ridges that make putting, especially long ones, tricky to judge.
green on 5.
Hole 6*: Cedar ⛳️
The sixth brings begins the second stretch of Perry holes, this is one being in my top two favorite holes on the golf course. It begins on an elevated tee that looks down over a short par 4 that bends slightly to the left. A bunker on the left can be challenged by longer hitters, but doing so doesn't provide much advantage other than a slightly shorter approach.

tee on 6.
A bunker protects the front part of the green, but it's not exactly close enough to be considered a greenside bunker. Balls that land in it will face an awkward length sand shot onto a green that can be hard to hold. Because of the bunker, it's often hard to tell where the center of the green is located.

approach on 6.
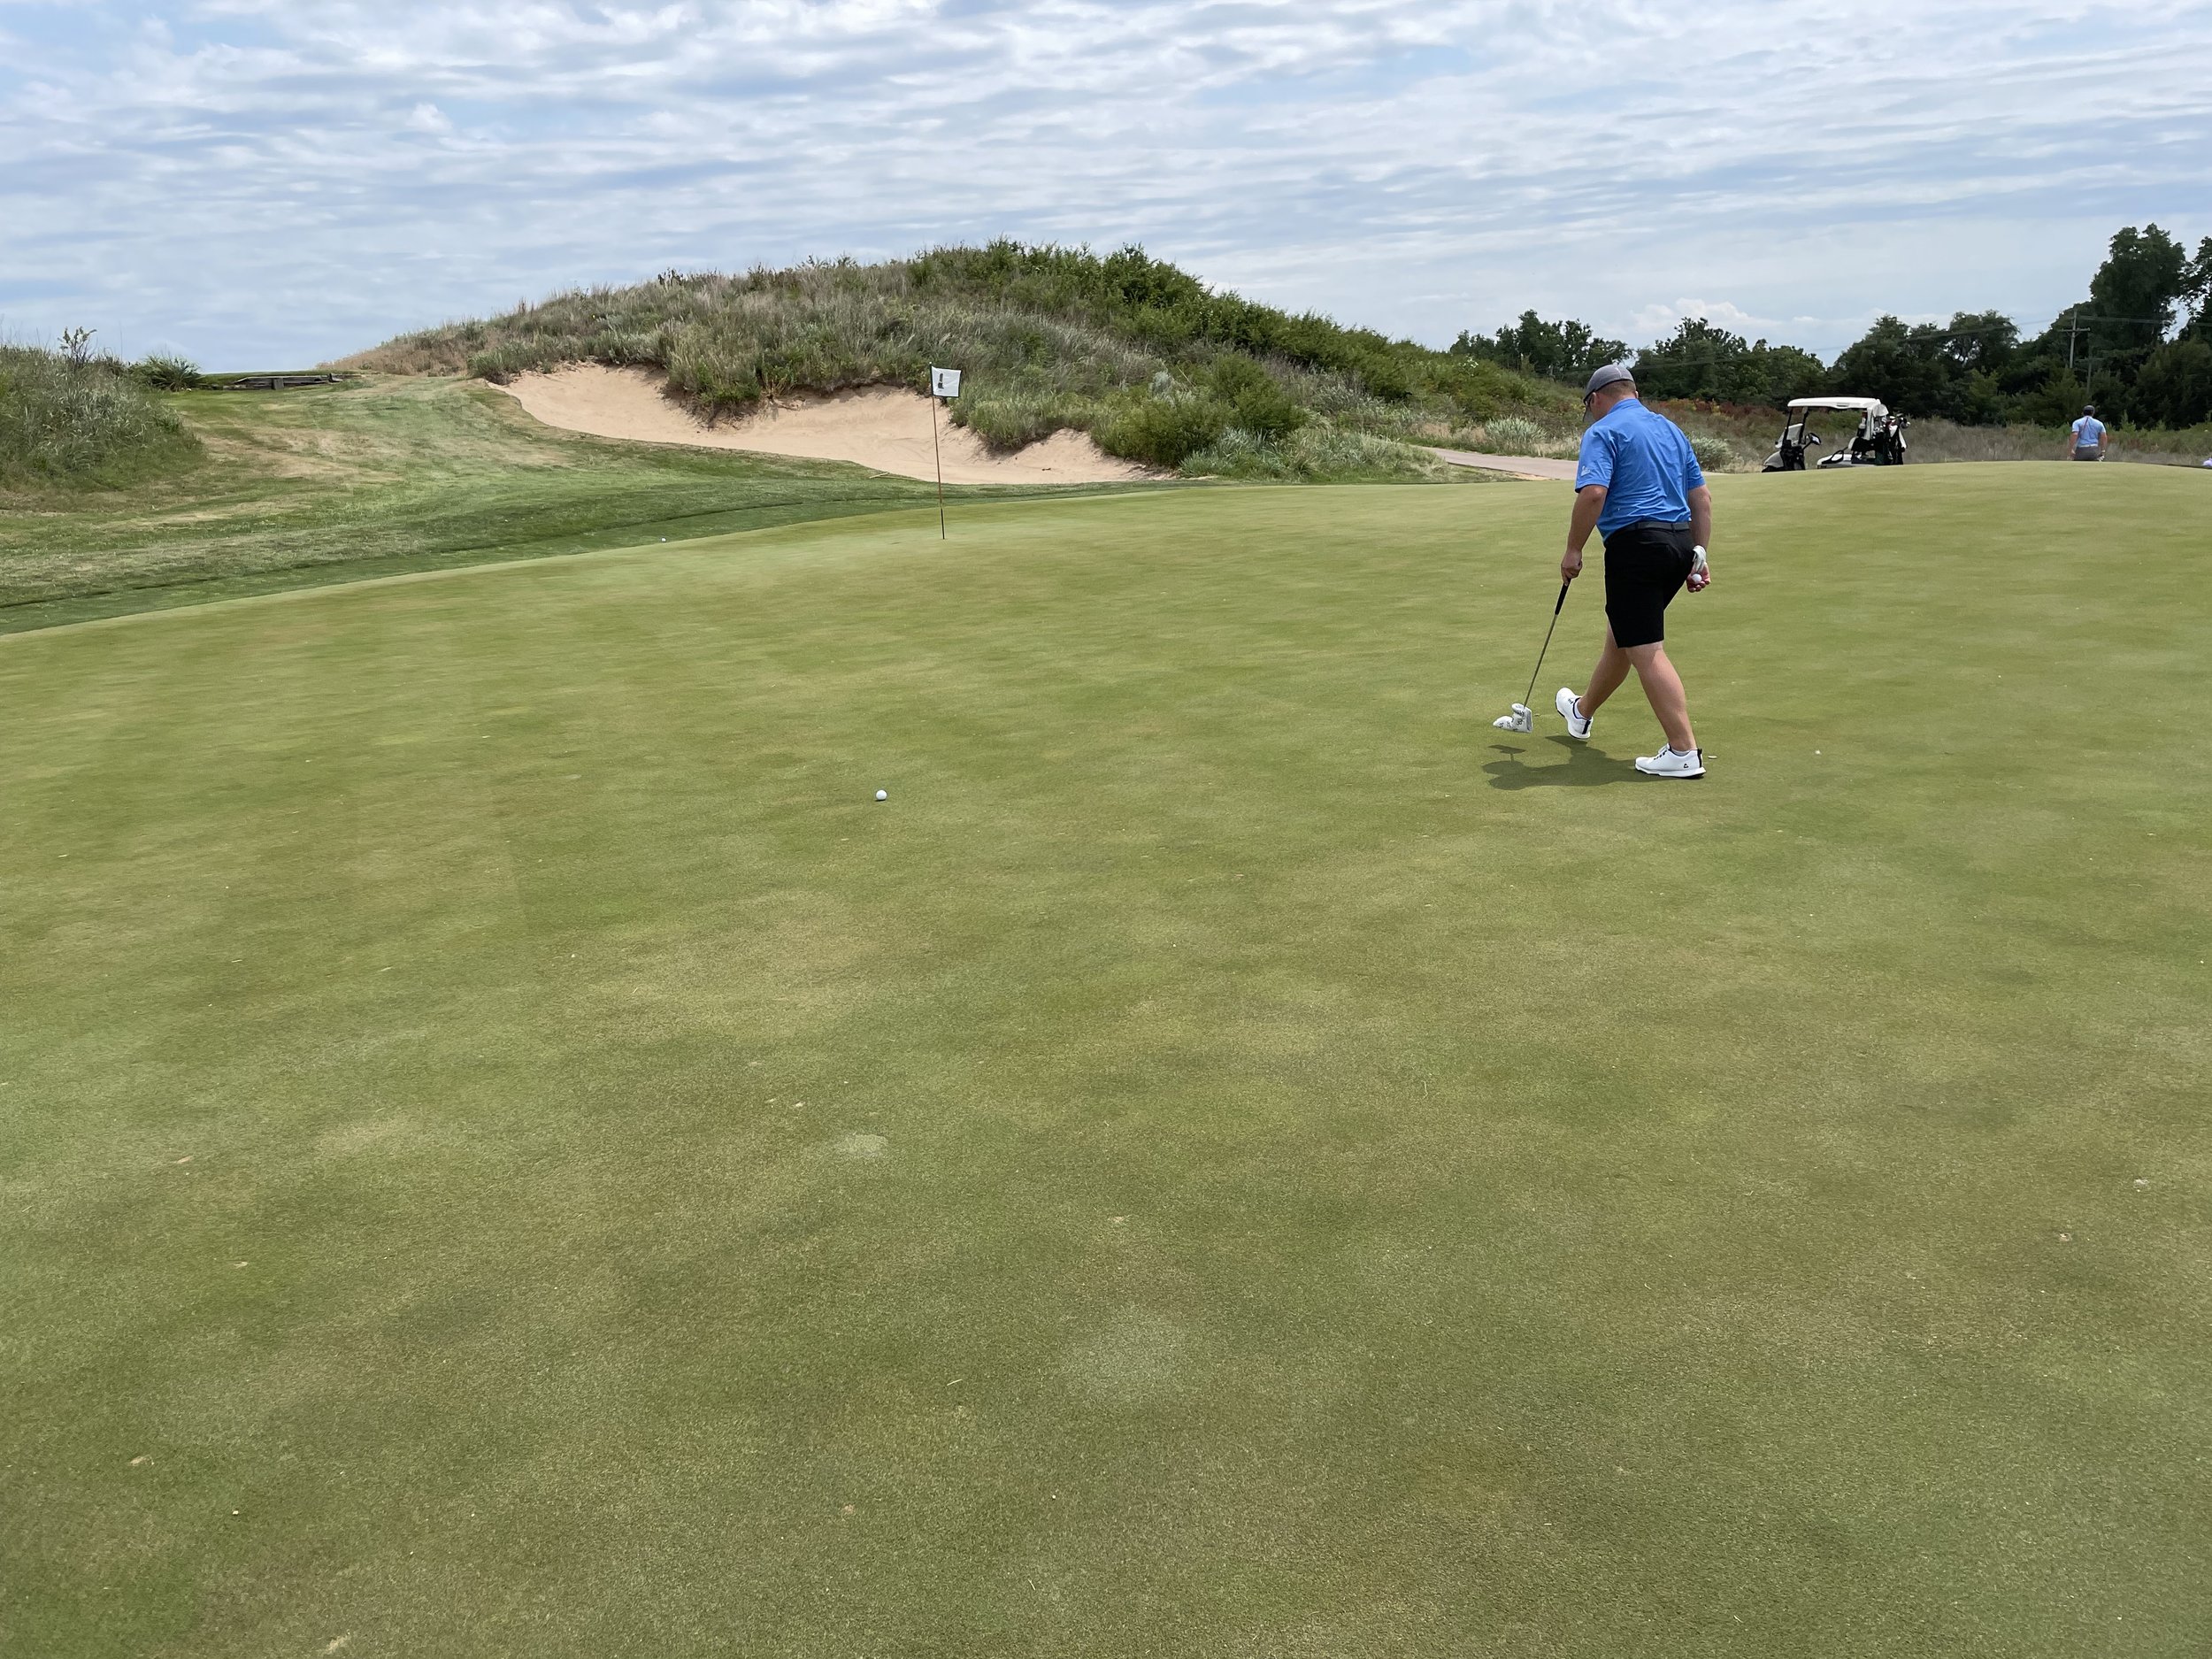
With the return of Perry-designed holes comes more extreme green rolls. A ridge runs through the center of the green, separating it into a back and front section. Specifically the front right of this green runs off hard towards the front and right. It's not uncommon to land a ball close to a front pin only to have it roll back 20-30 yards back in the fairway.

green on 6.
Hole 7*: South Wind ⛳️
The first and only par 5 on the front side is next. From the tee box, the fairway seems to blend in with the gunsch-covered dunes on each side. Picking a line can be a bit of a guessing-game as there are few features to help, but a bunker down the left helps mark the farthest left balls should go.

tee on 7.
A decision needs to be made on the second shot. It's not a long par 5, so it can often be reached in two with a solid second. Trouble surrounds the green, though, so even the smallest of misses can bring a big number into play.

long approach on 7.
After laying-up, a careful little pitch shot will be faced. Bunkers separated by gunsch surround the green, waiting to devour anything left, right, or long. A small valley runs off the green into a collection area in the back-left as well.

short approach on 7.
A long putting surface that features a couple ridges that separate the green into two or three sections awaits at the end of this hole.

green on 7.
Hole 8*: Dunes ⛳️
Perhaps the most well-known hole at Prairie Dunes, the eighth leaves an impact on everyone who plays it. This long par 4 features a fairway that slowly stair-steps its way up to the crest of a hill. Most players are not able to drive the ball over the hill, so a ball down the right will help leave a shorter approach, but gunsch looms right.

tee on 8.
The most common approach will still have to go over the top of the hill in the fairway on its way to the green. Depending on how far the tee ball flies, players may not be able to see much of the flag.
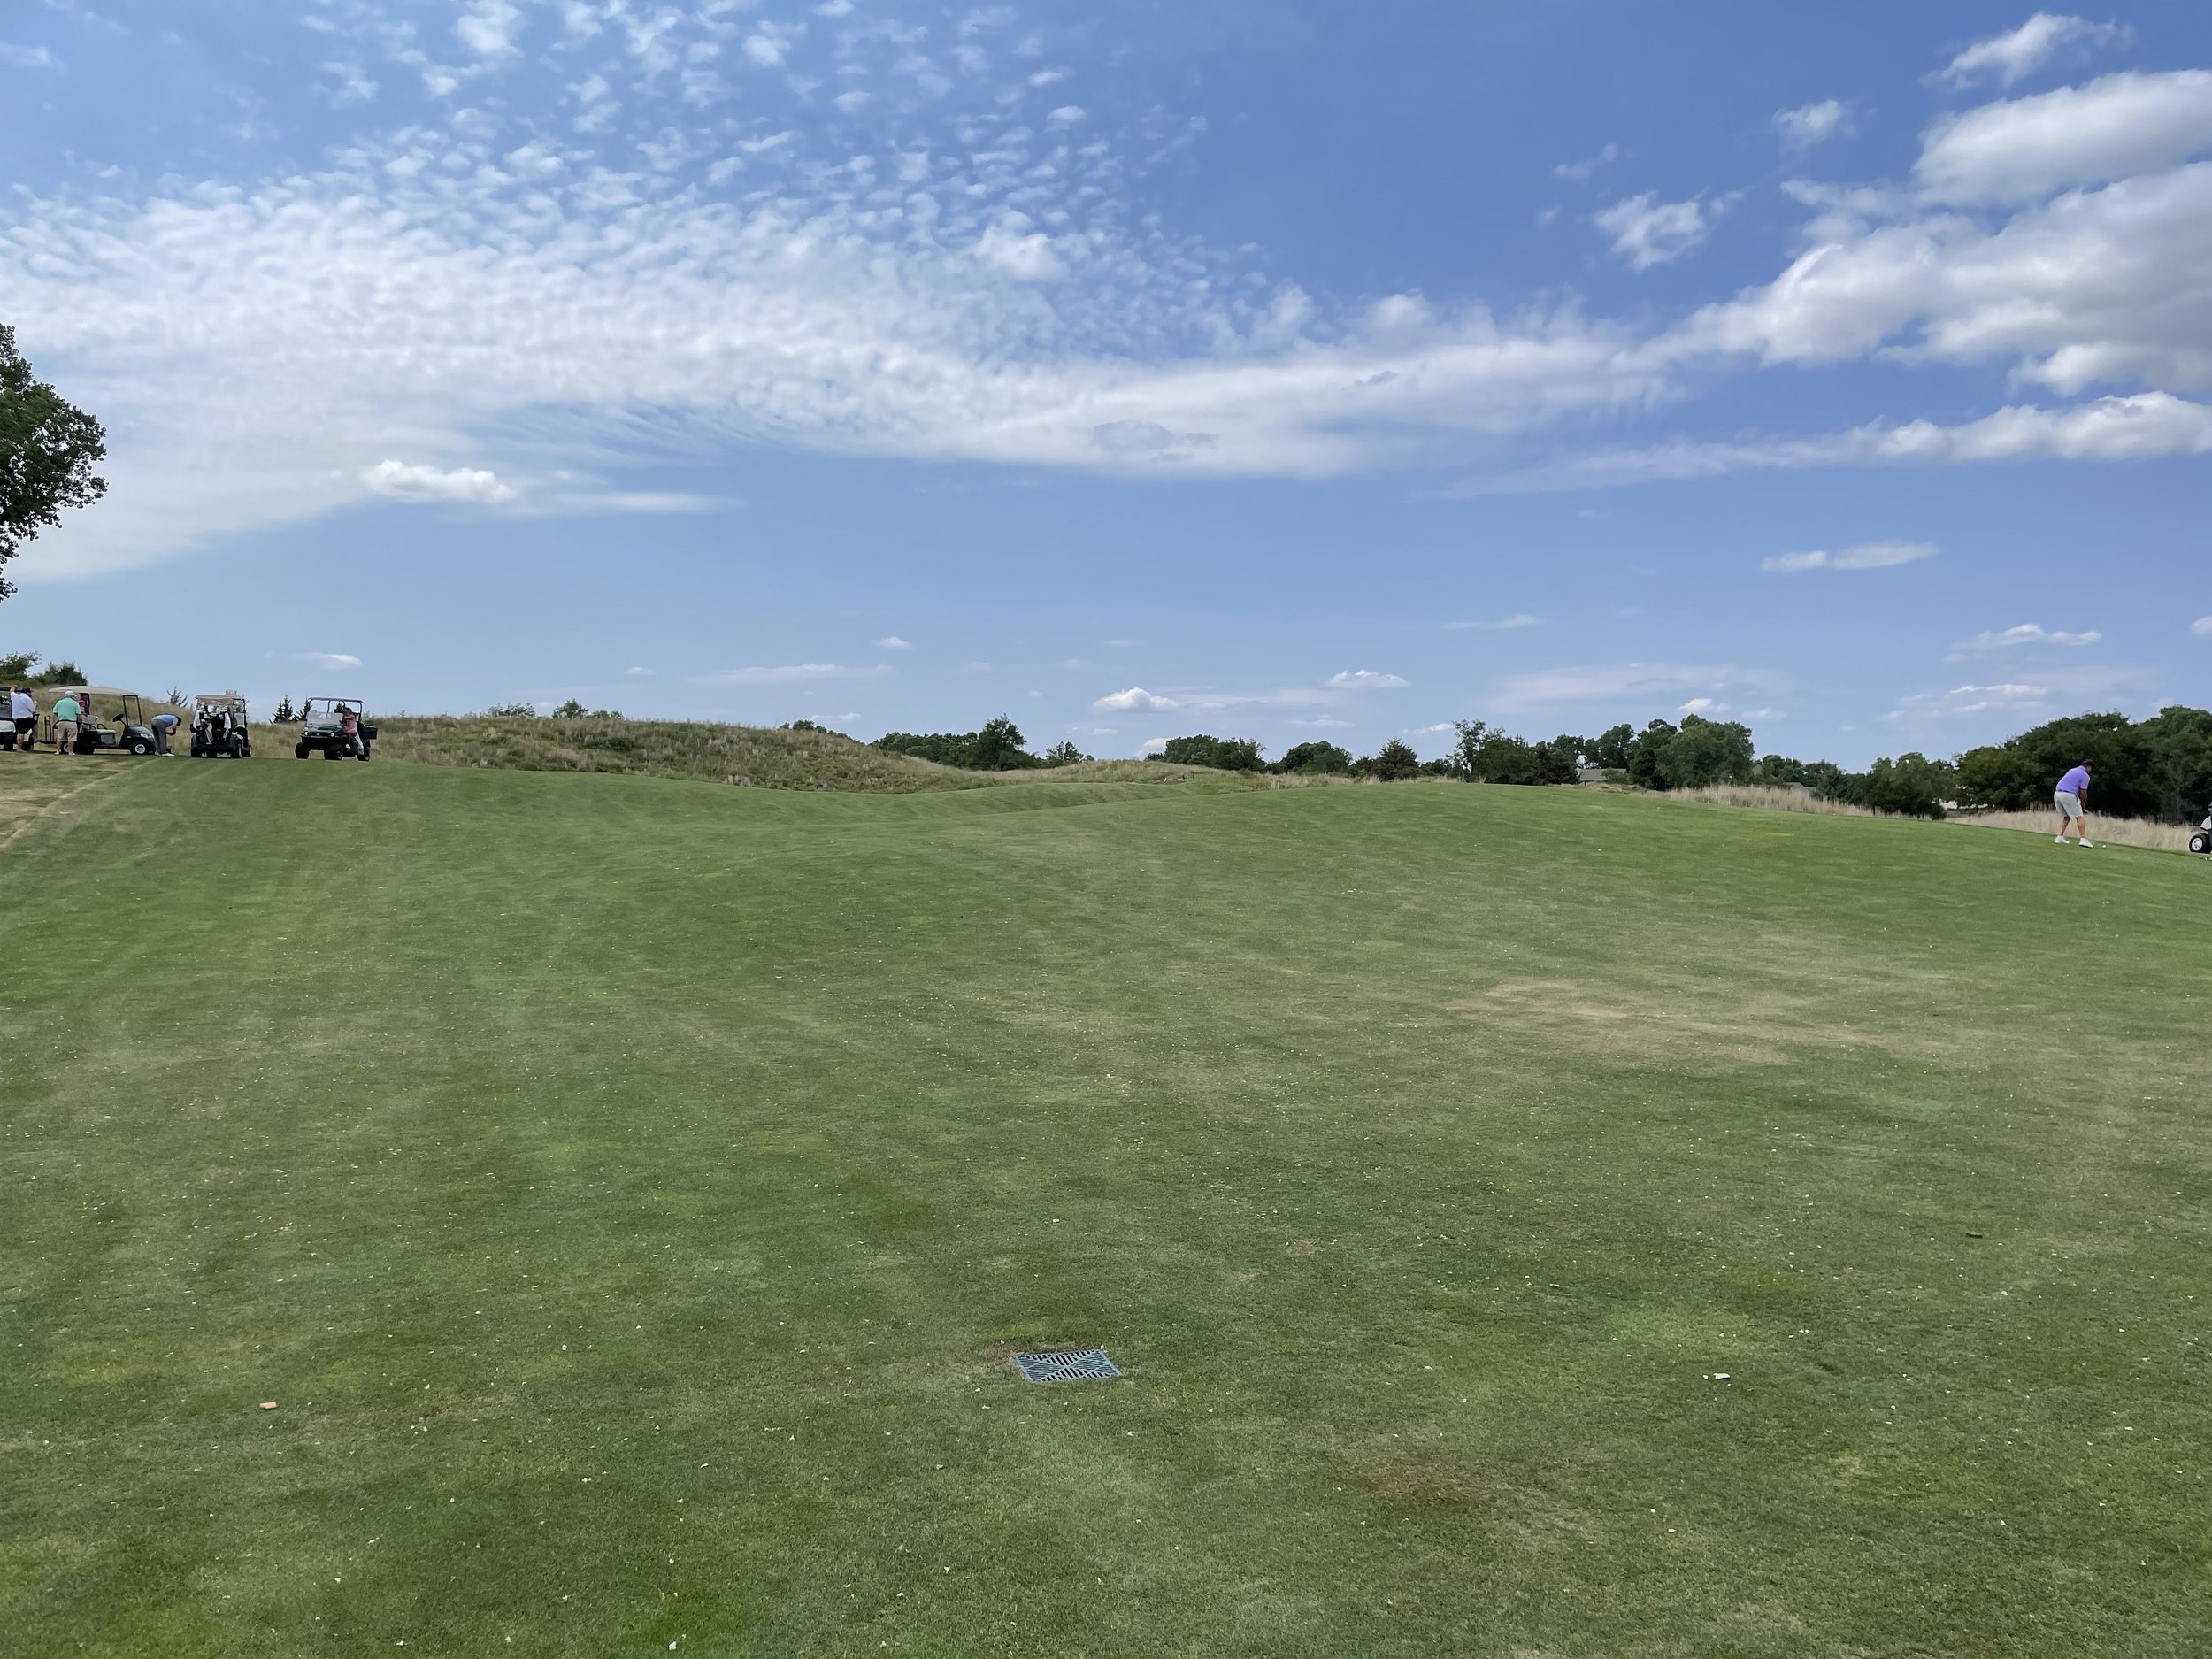
long approach on 8.
Just over the crest of the hill, the fairway drops down and cuts to the right before climbing up again to the green. Bunkers guard the front right and often collect a short approach shot.

short approach on 8.
The green slopes from back-to-front with several humps and bumps throughout. Players will want to be careful with the speed if their ball is above the hole as anything that catches the front edge can roll a long way back down the fairway.

green on 8.
Hole 9*: Meadow Lark ⛳️
The ninth is a straightaway par 4 with a fairway that can only be described as wavy. Depending on how far a player hits their tee ball, it's not uncommon to drive it straight into an upslope resulting in little-to-no roll.

tee on 9.
Looking back towards the clubhouse, the view from the approach also features several bunkers that frame the green.

approach on 9.
Once on the green, players will notice a deep putting surface that falls off both in the front and back. A ridge also cuts through the green making long putts a bit confusing.

green on 9.
Hole 10*: Yucca ⛳️
The back nine opens with a par 3 where the tee box sits right off the back porch of the clubhouse. A single bunker is visible on the front right, but another one hides just off the left side of the green.

tee on 10.
As you can see by the photo below, the green features the typical waves that make longer putts a nightmare.

green on 10.
Hole 11: Honey Locust ⛳️
Eleven is, in my opinion, the most difficult hole on the golf course. It's a dogleg left par 4, but requires a long drive just to get a view of the green around the corner. A bunker protects the inside corner of the bend, meaning players who try to cut off too much may find themselves with absolutely no chance at hitting the green in regulation.

tee on 11.
The approach is long and the green tends to be less receptive to balls with lower spin. A bunker short-right, left, and long guard the green and a false front that runs left will repel balls in that direction.

approach on 11.
Another undulated green means two putting is an accomplishment here.

green on 11.
Hole 12: Briar Patch ⛳️
The twelfth is another memorable hole. It's not a long par 4, but trees frame the fairway around 100 yards from the green. Some players choose to lay-up off this elevated tee because of the narrow fairway, which would leave a mid-iron in to the green.
The view below is after laying up off the tee. Even from farther back, the trees on the sides of the fairway provide an intimidating view for the approach. Thread the needle while missing the bunkers left and right will most likely set up a nice birdie chance.

approach on 12.
The back right of the green slopes off fairly severely into a collection area. Two or three primary bumps in the green split it up into sections.

green on 12.
Hole 13: Sumac ⛳️
From the tee on dogleg left thirteenth, players see a bunker left, right, and long. Longer hitters will be able to carry the left bunker if the wind is in their favor, but can also hit it through the fairway straight or right.

tee on 13.
Again, bunkers frame this green which features a severe false front, which can bring balls a decent way back down the fairway.

approach on 13.
This Press-made green is, again, more subtle, but requires some touch and careful study of the green to avoid rolling it off or three-putting.

green on 13.
Hole 14: Cotton Wood ⛳️
The fourteenth is the other hole in my top two. It's another short dogleg par 4 with an elevated tee, similar to the sixth. Depending on the tee, some players are able to cut the corner, but go too far left and a series of bunkers can easily catch a ball.

tee on 14.
The green is surrounded by trees, but those rarely come into play. A bunker left and right can catch anything that misses on those sides. Players will want to make sure they get the right yardage to place the ball on the same level as the pin.

approach on 14.
This green features a large valley in the center, separating it into a front and back section. As mentioned earlier, players will want to make sure their ball is on the right side of this depression or they'll face a long, hilly putt.

green on 14.
Hole 15: The Chute ⛳️
Another hole that player's don't often forget, the fifteenth is a longer par 3 that requires a tee shot that threads the trees placed at the front of the tee box.

tee on 15.
The green on this hole also features a valley, smaller than fourteen's, that runs through the middle of the green. Players will want to do everything they can to keep their ball on the correct side of the putting surface.

green on 15.
Hole 16: Blue Stem ⛳️
Two bunkers frame the sides of the fairway on this par 4 that bends right. The play off the tee for most players is to split the bunkers, as carrying the corner takes an exceptionally long drive.

tee on 16.
The view below is from the crest of the hill in the fairway between the bunkers. Balls that don't make it to the bunkers will have a view of the fairway ascending before coming back down to the green. Two bunkers frame the front sides of the green waiting to catch any wayward shots. A hidden threat is the large drop off on the right side of the green just over the bunker. Any shots over the right bunker will most likely funnel down into a collection area below the green.

approach on 16.
The green features more subtle breaks, but the right edge of the green can easily catch a ball and roll it off into the low swale.

green on 16.
Hole 17*: Pheasant Hollow ⛳️
In my opinion, the seventeenth is the best par 5 I've ever played and you'd be hard pressed to convince me there's a better one on the planet. It's fairly short, but I'm pretty sure I've made more 8s than 4s on this one and I don't think I'm alone.
From the tee, it can be hard to pick a line, but there's more room left than it appears. Hit it long enough and players have a chance of catching a downslope in the fairway and getting more roll. Go too far right and there's the risk of hitting a ball into the gunsch-filled dunes.

tee on 17.
Depending on the wind, after a solid drive, longer players may have only a mid-long iron into the green. A deep, long bunker is set just left of the green and any balls that find it will face a challenging up-and-down. The right side of the green slopes sharply down into a deep collection area. The front part of the green isn't very receptive either.

approach on 17.
Again, this green falls off hard on the right and front and can easily be putted off if players aren't careful. The actual puttable surface on this green is significantly smaller than the short grass area.

green on 17.
Hole 18*: Evening Shadow ⛳️
The final hole is a par 4 that slowly bends to the right. From an elevated tee box, the landing area appears much smaller than it is. Grassy dunes right block out some of the fairway, but should be avoided at all cost. Another gunsch-covered dune on the left side of the fairway straight out can also be hit by balls that go in that direction. Many players decide to take less than driver off this tee and lay back to the thicker part of the fairway.

tee on 18.
Bunkers frame the green on the approach shot and a false left front can catch balls and bring them down into a grassy depression.

approach on 18.
The final green features subtle movement that tends to move towards the clubhouse. After putting out, you'll feel both a sense of relief, for surviving the test, and sorrow that the round is over.

green on 18.
I hope you enjoyed this tour of my favorite golf course. If you haven't already, hopefully you'll have the opportunity to play it someday. If given the chance, be sure to take it.
The Fried Egg, a golf course website, created a video about Prairie Dunes that I thought was really well done, so I wanted to include that below. Enjoy...